

Flush plates might look like small, simple pieces of plastic or metal, but they do an important job. When they stop working properly, you’ll quickly notice wobbly buttons, incomplete flushes or a plate that refuses to spring back into place. The good news? In many cases, you can sort out common flush plates issues yourself with a little patience and the right guidance.
This step-by-step article walks you through how to fix flush plates safely and neatly, so your toilet works smoothly again.
What Is a Flush Plate and Why Does It Matter?
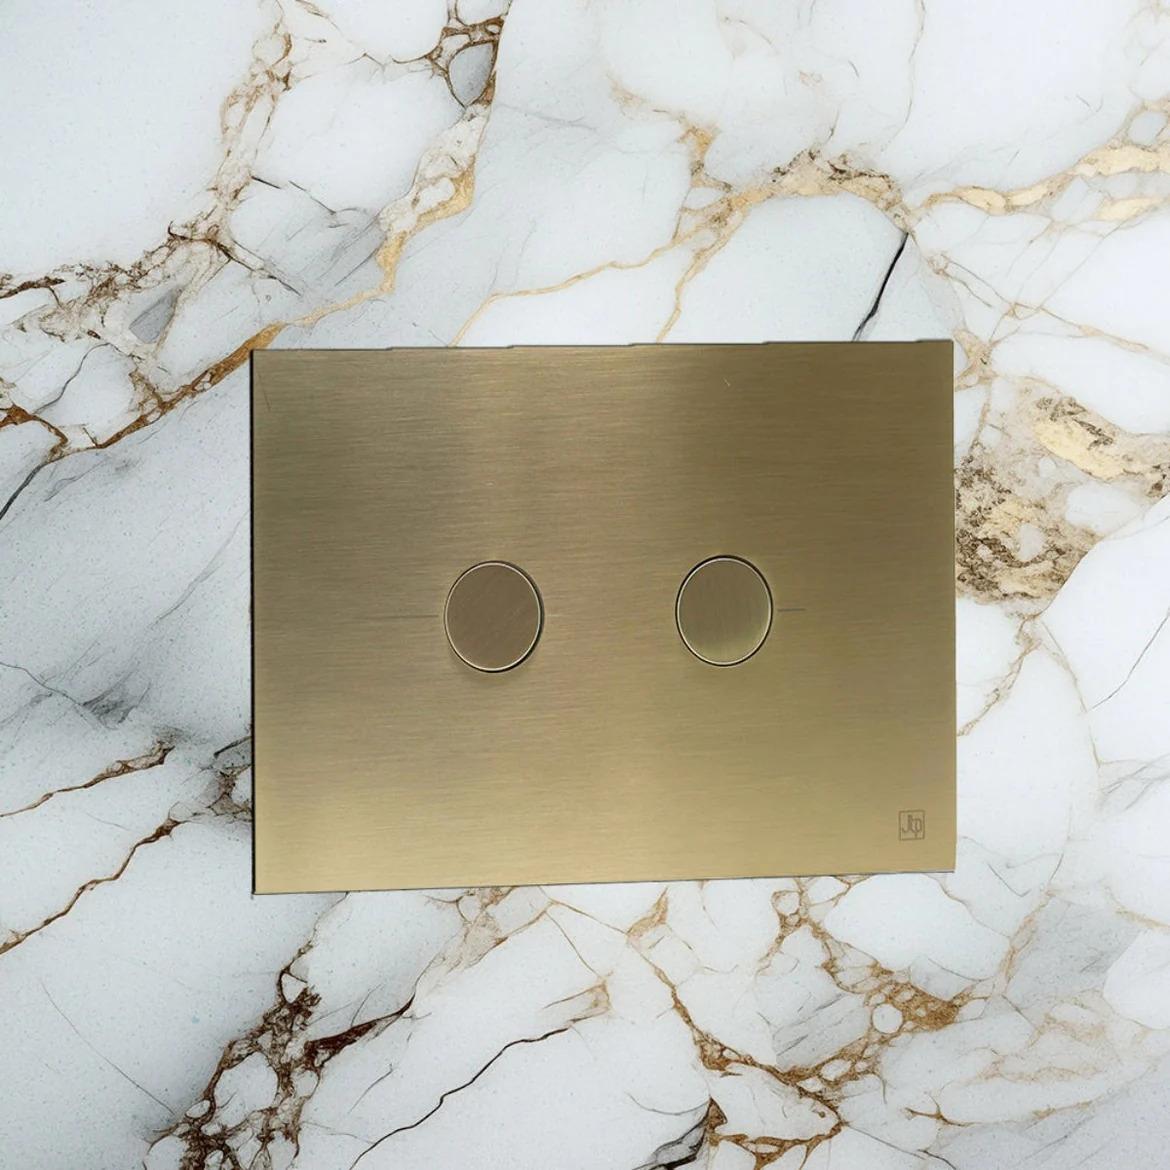
A flush plate is the visible control panel for a concealed cistern, usually mounted on the wall above or behind the toilet. Instead of a traditional lever, you press a button (or two) on the plate to activate the flush.
Well-fitted flush plates are important because they:
-
Trigger the flushing mechanism reliably
-
Provide access to the concealed cistern for maintenance
-
Finish the wall neatly and match your bathroom design
When something goes wrong with the plate, the flush may feel stiff, loose or stop working altogether. Often, the problem lies with misalignment, loose clips or worn components rather than the cistern itself.
Common Problems with Flush Plates
Before you start, it helps to understand what you might be dealing with:
-
Loose or rattling plate – the frame or clips may have worked loose.
-
Buttons sticking – dirt, limescale or misaligned rods/buttons can cause this.
-
No flush when pressed – the buttons may not be reaching the mechanism, or the rods/cables have slipped.
-
Partial flush only – on dual-flush plates, one button might not be engaging properly.
Many of these issues can be fixed by removing, inspecting and refitting the flush plate correctly.
⚠️ Important: If you notice continuous water running into the bowl or any leak behind the wall, call a professional. That usually indicates a cistern or valve issue beyond the plate itself.
Tools and Preparation
You don’t need a full toolbox to work on flush plates, but having a few basics helps:
-
Soft cloth or towel (to protect surfaces)
-
Small flat-head screwdriver (if needed for prising clips)
-
Philips screwdriver (for some frame types)
-
Mild soapy water and cloth for cleaning
-
Torch (useful for looking into the cistern opening)
Before starting:
-
Flush the toilet once so you can see how the plate behaves.
-
Check the manufacturer’s instructions if you still have them – different brands have slightly different fixing methods.
You don’t normally need to isolate the water just to work on the plate, as you’re not opening the cistern itself, but if you feel more comfortable doing so, that’s absolutely fine.
Step 1: Remove the Flush Plate Safely
Most modern flush plates are designed to be removed without too much force. The method varies, but the general approaches include:
-
Clip-off fronts:
Some plates simply clip onto a mounting frame.-
Gently press the plate upwards and then pull the bottom edge towards you, or vice versa.
-
If unsure, try a light push on one side while easing the other side out.
-
-
Side or bottom release:
A few designs have small notches at the side or bottom where you can insert a flat-head screwdriver wrapped in a cloth to protect the surface.-
Gently twist to release the clips – never force it.
-
Once released, carefully pull the plate towards you. You’ll usually see either plastic rods or cable mechanisms attached to the back.
Place the plate on a soft cloth so it doesn’t get scratched.
Step 2: Inspect the Mechanism Behind the Plate
With the plate removed, take a look at:
-
The rods or cables
-
Are they straight and correctly seated in their holders?
-
Have any come loose or fallen out of their sockets?
-
-
The mounting frame
-
Check that the frame is fixed firmly to the wall.
-
Look for any cracked plastic or loose screws.
-
-
The buttons themselves
-
Press them from behind and see if they move freely.
-
Note any stiffness, grinding or uneven movement.
-
Many flushing issues can be traced to rods that are misaligned, too long/short or simply not sitting in the right place.
Step 3: Adjust or Refit the Flush Rods/Cables
The connection between flush plates and the cistern mechanism is usually adjustable:
For Rod-Operated Plates
Plastic rods may need fine-tuning:
-
Too long:
The buttons might constantly press on the mechanism, causing sticking or continuous water flow. -
Too short:
You press the button, but nothing happens.
Look for:
-
Threaded sections or adjustable tips on the rods
-
Markings showing recommended lengths
Small adjustments can make a big difference:
-
Loosen or twist the end pieces to shorten or lengthen the rods slightly.
-
Re-seat them in the corresponding points on the flush mechanism.
-
Press the rods gently by hand to see if they activate the flush properly.
For Cable-Operated Plates
If your plate uses flexible cables:
-
Check that each cable is securely attached at both ends.
-
Make sure there are no tight bends or kinks.
-
Some systems allow you to adjust cable tension via small wheels or clips.
Test each button by pressing it directly while watching the mechanism move.
Step 4: Clean the Flush Plate and Buttons
Years of everyday use can leave flush plates a little grimy, and dirt can cause sticking.
-
Use a mild soapy solution and a soft cloth to clean:
-
The front and back of the plate
-
Around the buttons
-
The edges and clips
-
-
Avoid harsh chemicals or abrasive pads, as these can damage the finish.
-
Make sure everything is completely dry before refitting, especially around any electronic components (on sensor plates, for example).
Cleaning alone can often restore smooth operation and a “like-new” feel.
Step 5: Refit the Flush Plate Correctly
Now it’s time to put everything back together.
-
Align the rods or cables
-
Make sure each one lines up with the correct button or actuator on the plate.
-
The rods should not be under strain or at awkward angles.
-
-
Position the plate on the frame
-
Hook the top edge into place first if that’s how your design works.
-
Gently press the bottom or sides until you hear/feel the clips engage.
-
-
Test the buttons
-
Press each button firmly but gently.
-
Ensure both full and half flush (on dual-flush plates) work properly.
-
There should be a clear action and a smooth return.
-
If a button feels wrong – too stiff, too loose or non-responsive – pop the plate off again and fine-tune the rod length or cable position.
Step 6: Check for Ongoing Issues
Once you’re happy with the feel of your flush plates:
-
Flush several times in a row.
-
Listen for any continuous running water.
-
Check that the plate remains secure and doesn’t wobble or rattle.
If problems persist, the issue may lie deeper in the cistern mechanism (e.g. inlet valve, flush valve or internal components). At that stage, it’s wise to get a plumber involved rather than forcing anything and risking damage.
When to Call a Professional
While many plate-related problems are easy to fix, you should consider professional help if:
-
The cistern constantly runs after flushing
-
You can see or suspect a leak behind the wall
-
The mounting frame is broken or loose within the wall
-
The flush mechanism itself seems damaged or corroded
A qualified plumber or bathroom specialist can safely remove the cistern components, replace faulty parts and ensure everything is set up for reliable long-term use.
Conclusion
Fixing flush plates is often a straightforward job once you understand how they connect to your concealed cistern. By carefully removing the plate, inspecting the rods or cables, cleaning the components and refitting everything with small adjustments, you can solve many common issues yourself.
A well-fitted flush plate doesn’t just look neat – it gives you a smooth, reliable flush every time and keeps your modern bathroom working exactly as it should. If at any point the job feels beyond your comfort zone, don’t hesitate to call in a professional to protect both your fixtures and your peace of mind.